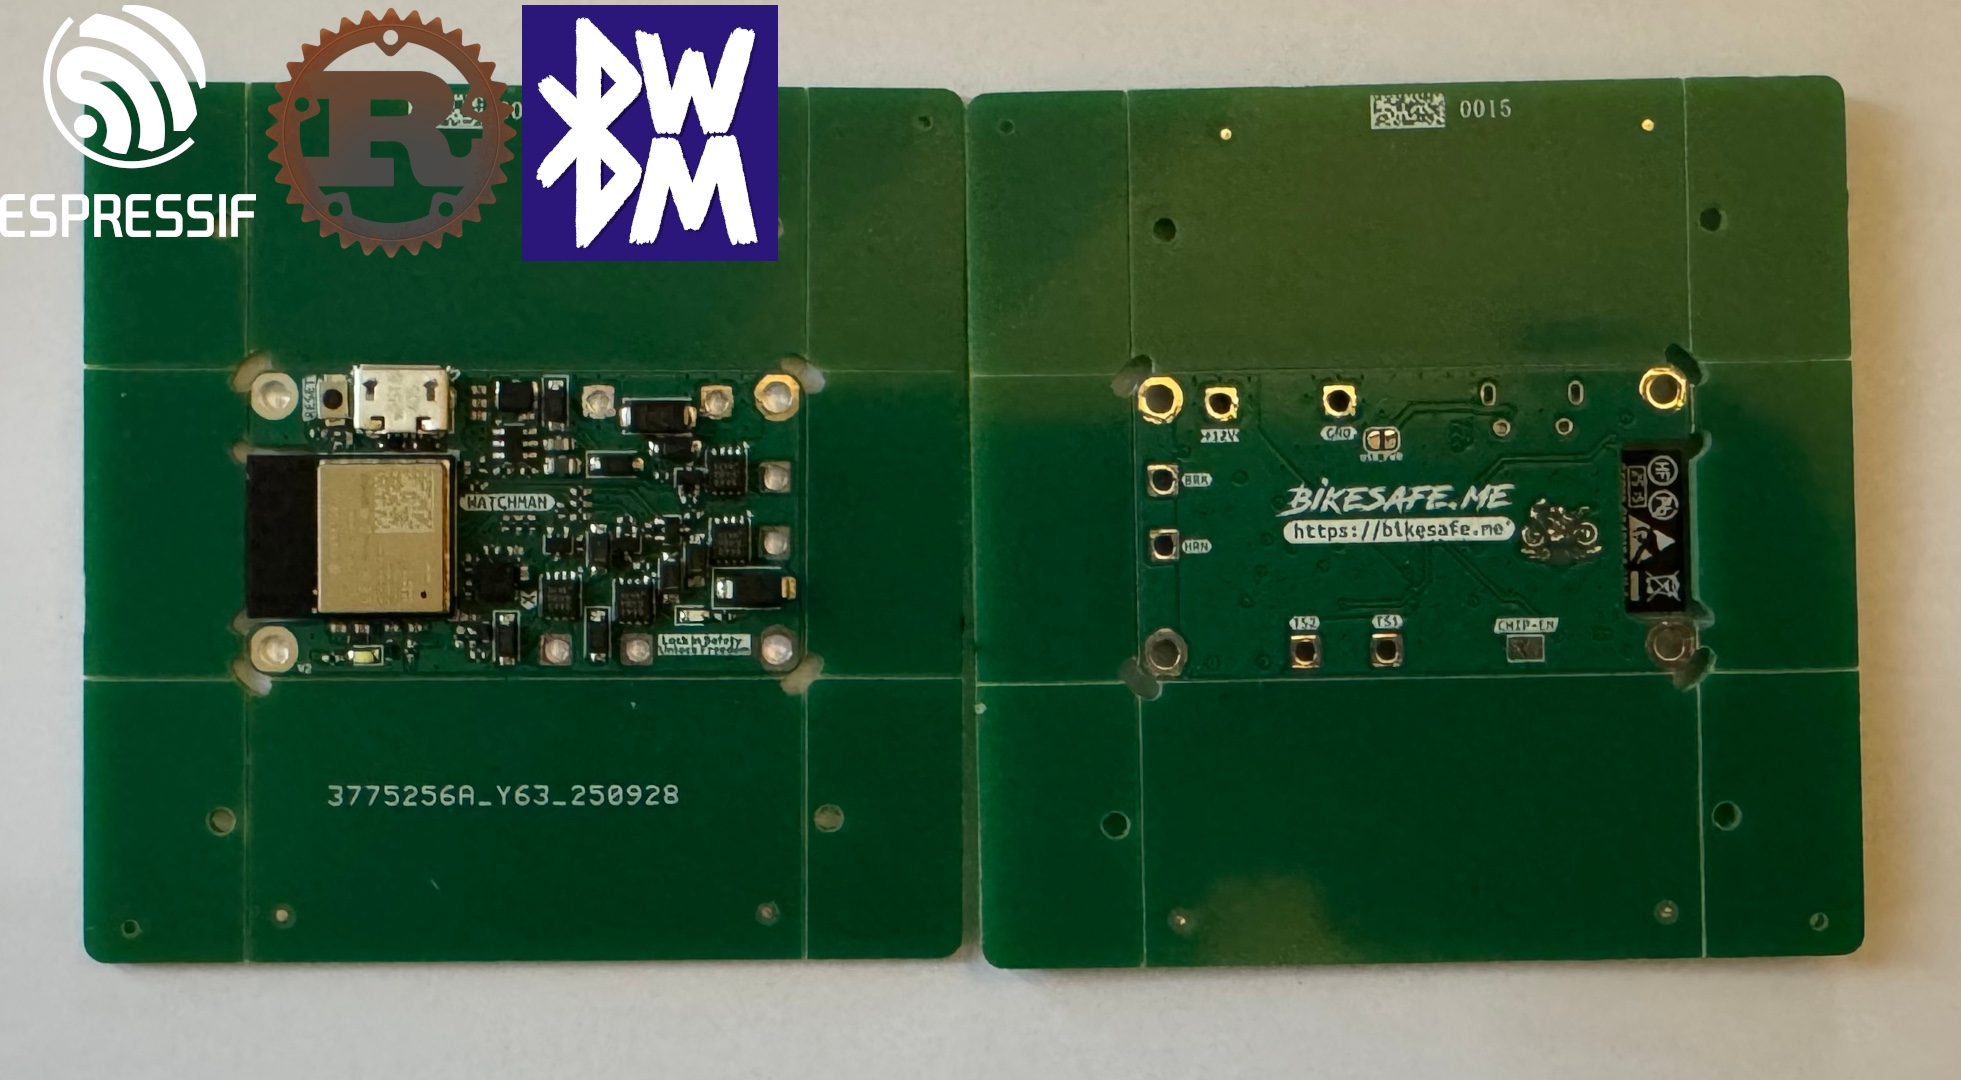
Earlier I wrote about BikeSafe Watchman, I have been busy building firmware that has to survive the real world (gloves on, cold hands, spotty RF, and a phone that is trying its best), I kept learning the same lesson: your protocol is part of your product.
For BikeSafe Watchman (an ESP32-C3 BLE device), I wanted a protocol that is:
- cheap to parse (no JSON, no allocations, no decoding adventures)
- easy to extend without breaking older apps
- compact on the wire
- boring enough to debug at 11pm
I kept landing on the same pattern: TLV (Tag, Length, Value).
In this post, I walk through the TLV design I’m using in this codebase, why it works well over BLE, and a few snippets that make it feel ergonomic in embedded Rust.
The full example firmware for this post is in github.com/mygnu/esp32-ble-ota-tlv . It is intentionally small, so you can focus on the protocol shape rather than a big application.
The problem
BLE is great when you stay within its constraints, and it’s miserable when you pretend those constraints don’t exist.
The first time I built the control channel, it was genuinely tiny. A couple of bytes for a command, a couple more for a setting, and it felt done.
Then the real world arrived. Phones disconnect at the worst time, packets arrive out of order, and the firmware and app do not update together. Suddenly those couple of bytes have to carry versioning, error handling, and enough structure that you can debug it when you are tired.
Some constraints that shaped this design:
- Small packets: even with a large MTU, your effective payload is limited.
- Errors are awkward: a write can fail as an ATT error; there isn’t always a clean “response message”.
- Versioning is inevitable: the device firmware, iOS app, and Android app won’t always update together.
I started with “just send a few bytes”, and it quickly grew into:
- commands: small, cheap control messages (ping, echo, action codes)
- configuration: a handful of fields like name, thresholds, and timers
- OTA: chunked upload plus signature verification
- status: a few counters so you can see what the device thinks happened
So the protocol needed to scale from “two bytes” to “hundreds of bytes” without turning into a bespoke snowflake.
Setting up on Linux
ESP32 development with Rust can be a bit fiddly to set up. Since the echosystem is evolving, setup instructions can go out of date quickly.
You can get a rust developmet board like the ESP32-C3-Dev-Board for about $10-$15 USD.
This is how I set it up on Linux when I want to flash and iterate quickly:
Prerequisites
- Install Rust and the ESP toolchain:
# Install Rust if you haven't already
curl --proto '=https' --tlsv1.2 -sSf https://sh.rustup.rs | sh

# Install the ESP toolchain
cargo install espup
espup install
- Install additional tools:
# ESP flashing tool
cargo install espflash

# Linker proxy
cargo install ldproxy
- Install ESP-IDF dependencies on Linux:
# Ubuntu/Debian
sudo apt-get install git clang libc6-dev

# For other distributions, check the ESP-IDF documentation
Building and Flashing
- Clone this repository:
git clone https://github.com/mygnu/esp32-ble-ota-tlv
cd esp32-ble-ota-tlv
- Build the project:
cargo build
- Flash to your ESP32 device:
# Replace /dev/ttyUSB0 with your device's serial port
# You might also want to add udev rules for easier access without sudo
cargo run -- --port /dev/ttyUSB0
The runner is configured to use the OTA partition table, which is necessary for the OTA update functionality.
TLV in 30 seconds
A TLV item is:
[tag: u8][len: u8][value: len bytes]
That’s it.
tagidentifies what the field means (for example0x02is ECHO in this repo)lensays how many bytes followvalueis whatever that tag expects (could be empty)
Why this is nice over BLE
- You can ignore unknown tags (forward compatible)
- You can add new tags without changing old ones
- Parsing is linear and trivial (no allocations)
One top-level TLV per write
One rule I’m fairly strict about:
Each GATT write contains exactly one top-level TLV.
That means a write is either:
PING(no payload)ECHO(payload is any bytes)ACTION(payload is one byte)SET_CONFIG(payload is a nested TLV stream)
This keeps the unit of work obvious and makes error handling cleaner: each write is one command.
In this repo that rule applies to the CONTROL_UUID characteristic. OTA uses a separate OTA_UUID characteristic, and OTA_CHUNK uses an extended TLV header with a u16 little endian length so chunks can be larger than 255 bytes (see
API.md
).
You can see the command tags in src/tlv.rs :
// Command TLV tags
pub const TAG_PING: u8 = 0x01;
pub const TAG_ECHO: u8 = 0x02;
pub const TAG_ACTION: u8 = 0x05;
pub const TAG_SET_CONFIG: u8 = 0x20;
Empty payload commands end up being tiny on the wire:
01 00 # PING
No framing, no CRC, no ceremony. BLE already has checksums and reliability at the link layer. (Not that you should be reckless, but I try hard not to “double-protocol” unless I must.)
Parsing TLV without allocations
Here’s the basic parser I like: treat the buffer as a slice, return a borrowed view.
From src/tlv.rs :
#[derive(Debug, Clone, Copy)]
pub struct Tlv<'a> {
    pub tag: u8,
    pub val: &'a [u8],
}

impl<'a> Tlv<'a> {
    pub fn parse_one(buf: &'a [u8]) -> Result<(Self, &'a [u8]), ResponseCode> {
        if buf.len() < 2 {
            return Err(ResponseCode::BadRequest);
        }
        let tag = buf[0];
        let len = buf[1] as usize;
        let start: usize = 2;
        let end = start.checked_add(len).ok_or(ResponseCode::BadRequest)?;
        let val = buf.get(start..end).ok_or(ResponseCode::BadRequest)?;
        Ok((Self { tag, val }, &buf[end..]))
    }

    pub fn parse_exact(buf: &'a [u8]) -> Result<Self, ResponseCode> {
        let (tlv, rest) = Self::parse_one(buf)?;
        if !rest.is_empty() {
            return Err(ResponseCode::BadRequest);
        }
        Ok(tlv)
    }
}
Nothing fancy, but it has the properties I want:
- borrows, doesn’t allocate
- validates lengths
- keeps parsing errors mapped to protocol
ResponseCode
“Pro tip”
If you’re designing a protocol for a tiny MCU, avoid parsing patterns that force you to copy buffers around. A borrowed TLV view is surprisingly powerful: you can log unknown frames, forward bytes into another component, and keep your failure modes predictable.
Nested TLVs (only where it pays off)
In this repo, nesting is used for configuration updates because config is a bag of fields. Everything else stays simple.
A SET_CONFIG write looks like this:
20 <len>
    06 <n> <name utf8 bytes>
    0A 01 <near_far_threshold:i8>
    0B 01 <initial_quiet_s:u8>
    0C 01 <alarm_escalation_after_s:u8>
Example from API.md (set name=“demo”, threshold=-60dBm):
20 09
    06 04 64 65 6D 6F
    0A 01 C4
Unknown config items are ignored by the firmware. That is deliberate: it lets me add new fields without breaking older firmware.
Responses: small TLVs
Most responses use the same simple TLV framing, but the whole response is:
[status: u8] { [tag][len][value] }*
Where status is Ok, BadRequest, or InternalError.
In src/tlv.rs there is a small response builder that stays heapless:
pub struct ResponseWriter {
    buf: RespBuf,
}

impl ResponseWriter {
    pub fn new(code: ResponseCode) -> Self {
        let mut buf = RespBuf::new();
        let _ = buf.push(code as u8);
        Self { buf }
    }

    pub fn push_tlv(&mut self, tag: u8, val: &[u8]) -> Result<(), ResponseCode> {
        if val.len() > 0xff {
            return Err(ResponseCode::BadRequest);
        }
        let needed = 1 + 1 + val.len();
        if self.buf.len() + needed > self.buf.capacity() {
            return Err(ResponseCode::InternalError);
        }
        self.buf.push(tag).ok();
        self.buf.push(val.len() as u8).ok();
        self.buf.extend_from_slice(val).ok();
        Ok(())
    }
}
In this demo firmware I keep responses intentionally small (status counters and config). Once you start returning big, structured telemetry, you will need to think about long reads, chunking, and how much RAM your BLE stack can spare for characteristic storage.
OTA updates
One feature I always want in a device I ship is OTA (over the air) updates. It turns a scary bug fix into a normal release, and it means you can improve the product after it leaves your desk.
The OTA partition layout
ESP32 devices use a partition table to manage flash memory. This project includes a special OTA partition table (
partitions-ota.csv
) that reserves space for multiple firmware slots. The OTA system works by:
- Keeping the currently running firmware in one partition
- Writing new firmware to a different partition
- Setting a boot flag to switch to the new partition on next reboot
- Falling back automatically if the new firmware fails to boot
The OTA TLV protocol
The OTA update process uses three TLV commands that are sent to the OTA characteristic:
- OTA_BEGIN (0x30): Initiates the update with total size and SHA-256 hash
- OTA_CHUNK (0x31): Sends data chunks in sequence
- OTA_COMMIT (0x32): Finalizes the update with an Ed25519 signature
Security model
Security is critical for OTA updates. This implementation uses:
- SHA-256 verification: The firmware calculates a hash of the entire file and verifies it matches the expected hash
- Ed25519 signature: A cryptographic signature ensures the firmware is authentic
- Sequential chunk verification: The firmware validates that chunks arrive in order with correct offsets
The Ed25519 public key is embedded in the firmware ( src/ota.rs ). In a real product you would use your own key pair, not the demo key included here.
The update flow
Here’s how the complete OTA update works from start to finish:
Initiation:
- The client sends OTA_BEGIN with total firmware size and SHA-256 hash
- The firmware verifies there’s enough space in the OTA partition
- An OTA handle is created to prepare for writing
Data Transfer:
- The client sends multiple OTA_CHUNK packets
- Each chunk includes an offset and data
- The firmware validates the offset matches what’s expected (sequential)
- Data is written to the OTA partition and added to a running SHA-256 hash
Completion:
- After all chunks are received, the client sends OTA_COMMIT with a signature
- The firmware verifies the SHA-256 hash matches what was sent in OTA_BEGIN
- The Ed25519 signature is verified against the embedded public key
- If verification succeeds, the boot partition is set to the new firmware
- The device is ready to reboot into the new firmware
Rollback Protection:
- If verification fails at any point, the OTA session is aborted
- The device continues running the original firmware
- No boot flags are changed, ensuring a bad update can’t brick the device
Client implementation notes
If you’re implementing a client for this OTA system:
- Use the BLE library’s support for long writes and notifications
- For large firmware, consider using write-without-response for chunks (faster)
- Verify the firmware file’s hash before sending
- Store the signing private key securely on your build workstation
You create a hash and sign it before uploading firmware to a firmware distribution server, I have built a server for that phone app client uses to check and download firmware updates, but it’s out of scope for this post. If you’re interested in that side of things, let me know!
A note on production security: ESP32 devices support hardware-based secure boot and flash encryption. With secure boot enabled, the bootloader verifies a digital signature (using RSA or ECDSA) burned into eFuses before loading any firmware. This happens at the bootloader level, before your application code even runs. It’s a powerful defense against unauthorized firmware, but it requires careful key management and adds complexity to your development workflow. For production devices, you should seriously consider enabling secure boot alongside the application-level OTA signature verification shown here. See the ESP-IDF Secure Boot documentation for implementation details.
Debugging OTA
To debug OTA issues:
- Read the OTA characteristic to get progress information
- Check the OTA_SUCCESS_COUNT counter in the status characteristic
- Monitor the serial output for detailed error messages
- Use
espflash monitorafter flashing to see real-time logs
The OTA implementation in this project is intentionally small but it covers the important parts: sequential chunking, hashing what you actually received, verifying a signature, and only then switching the boot partition.
One practical detail is how OTA_CHUNK is framed. Normal TLVs use a u8 length, but chunks can be bigger than 255 bytes, so OTA_CHUNK uses an extended header with a u16 little endian length. You can see the parsing logic in
src/main.rs
and the wire format is documented in
API.md
.
Efficiency: where TLV wins (for me)
There are two kinds of “efficiency” that matter in embedded projects:
- wire efficiency (bytes)
- brain efficiency (debug time)
TLV helps both.
Wire efficiency
- 2 byte overhead per small field (
tag + len) - no key strings like JSON
- can pack numbers as LE integers
For example, this repo returns a config version counter as a TLV in the STATUS read:
12 04 <cfg_ver:u32 LE>
That’s 6 bytes total: tag 0x12, length 4, and a u32 little endian value.
Brain efficiency
- you can dump raw bytes and still “see” the structure
- unknown tags don’t brick your parser
- you can build response frames with a tiny, testable encoder
Also, if the firmware is strict about one top-level TLV per write, you can correlate actions and logs very easily.
What I’d do differently next time
No protocol is perfect. A few things I’d keep an eye on if you implement a similar design:
- Be explicit about endianness (I use LE everywhere for multi-byte numbers)
- Have a plan for “big payloads” early (OTA and any future bulk data tend to grow)
- Document the exact framing (u8 length vs u16 length is the kind of detail that ruins weekends)
In this repo the full protocol is documented in API.md , including the special cases:
OTA_CHUNKuses au16length header
Conclusion
TLV is not exciting, and that’s why I like it.
It’s compact, extendable, and doesn’t require my firmware to pretend it’s a desktop program. Over BLE, it gives you a predictable path from “a couple commands” to “a real protocol” without losing the plot.
If you’re building a BLE gadget and you’re tempted to send JSON, I won’t stop you. But I will gently suggest you try TLV for a weekend.
Store
I have built a product with esp32 and a rust firmware! If you’re interested in BikeSafe Watchman, a premium motorcycle security device with ESP32 BLE and OTA updates, check it out here: